
 Say “CHEESE”!!
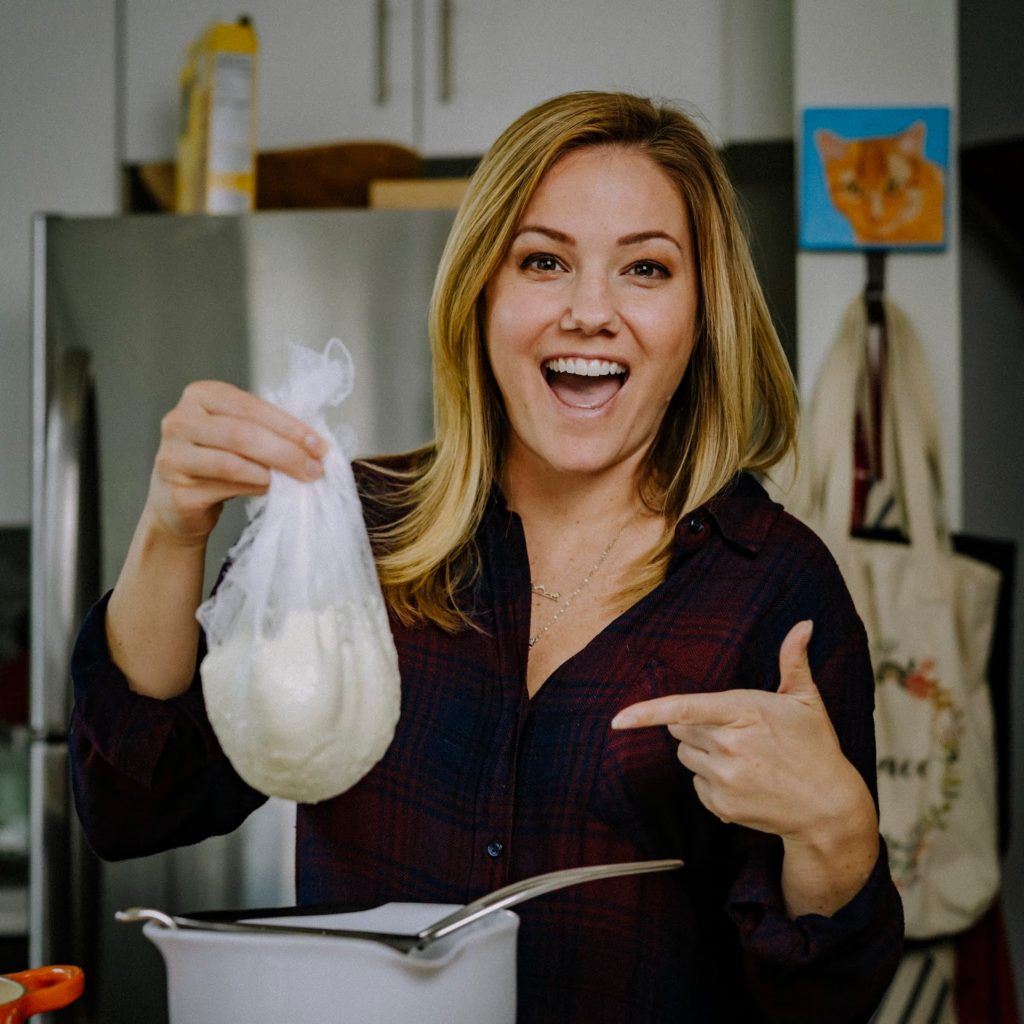
This was my genuine reaction when I successfully made ricotta cheese on my own at home for the first time. I had learned to make it previously during a cheese making class at Brooklyn Kitchen, and I came home that night telling Justin how easy it was to make cheese, specifically ricotta, and that I couldn’t wait to make it all the time.
Fast forward about 6 months and I still had not made the ricotta.
So while Justin and I were brainstorming what to make for “S”… we decided on a stuffed pasta called sacchetti (more on that in the next post.) When I mentioned I planned to stuff it with a mixture of pears and ricotta, Justin suggested I make the ricotta from scratch.
And so began our all-day cheese-and-pasta-making-affair.

I can’t stress enough how easy this is. You don’t need rinnet (a key component in many cheeses.) You don’t need a whole lot of time. You really just need some milk, cream (which is technically optional), lemon juice, salt and a thermometer. (I also added some rosemary & lemon zest to the mix, but that’s completely optional as well.)

Combine three cups of milk and one cup of cream in a medium sized pot (and if you would like a hint of rosemary taste in your ricotta, add a couple sprigs here as well.) Then heat on medium it to just under boiling, 200 degrees F, while stirring occasionally to make sure the milk doesn’t scald. Remove the mixture from the heat, discard the rosemary (if using) and stir in 3 tablespoons of fresh lemon juice. The milk *should* begin to curdle immediately, but it’s ok if it doesn’t. Cover and allow it to sit for 10 minutes to allow time for the curds to separate from the whey.
At the end of the ten minutes… CURDS!!! At this point, the curds should be completely separate and the liquid should look yellow and watery. If the milk hasn’t separated, try adding another tablespoon of acid. If that still doesn’t work, check your milk and make sure it is non-UHT milk; otherwise it will not separate. (Actually, you should probably do that BEFORE you start this whole process.)
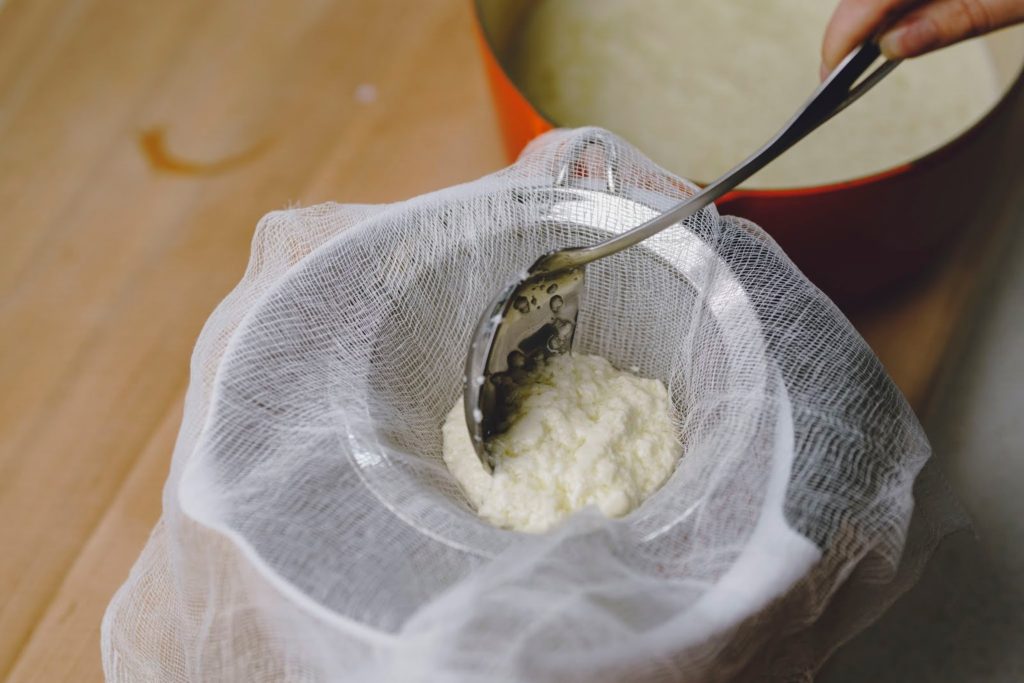
Set a fine mesh strainer over a mixing bowl and line with cheese cloth or nut bag. Carefully spoon the curds into the strainer, allowing the whey to collect in the bowl below.
“NO WHEY!” (I’ve got cheese jokes for dayyyyyys.)
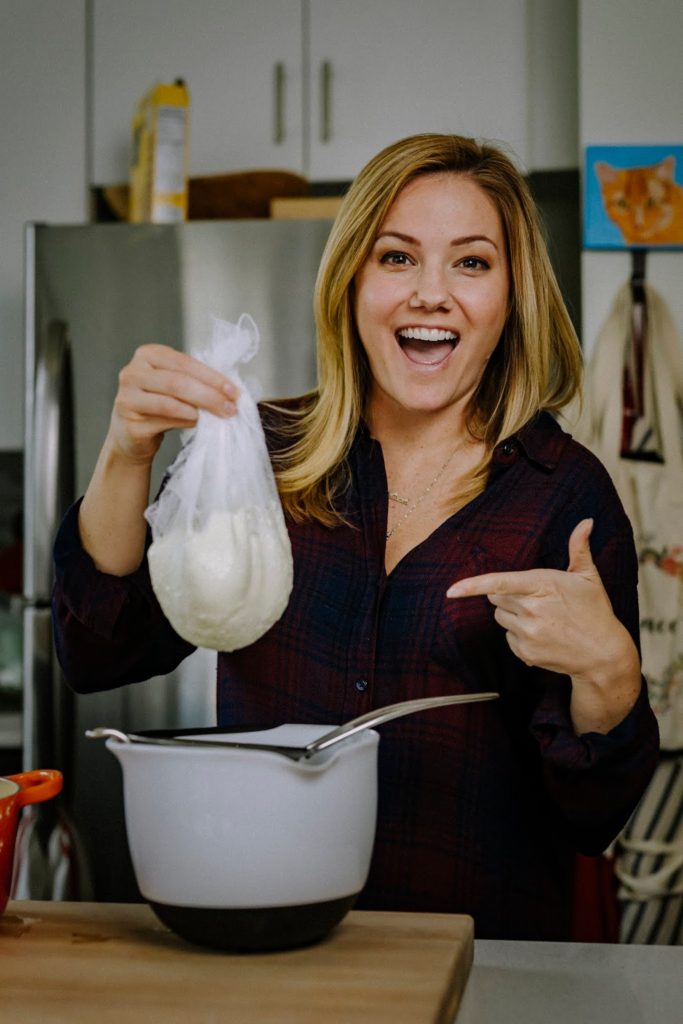
Gather the cheesecloth in your hand and gently squeeze to remove the excess whey. Transfer to a bowl, and sprinkle with a little salt and some lemon zest (if using.) You’ve now made ricotta cheese (or farmer’s cheese!) It’s delicious on its own, spread on bread or crackers but there are about a million uses for ricotta, including stuffed zucchini blossoms, ravioli or sacchetti, which I’ll tell you about in my next post.
What about you? Have you ever tried making ricotta before? And does anyone have good recommendations for what to do with the excess whey I have in my fridge?


document.write(”);
- 3 cups whole milk (do NOT use UHT pasteurized)
- 1 cup heavy cream (or can sub with another cup of whole milk)
- 2 sprigs rosemary (optional)
- 3 tablespoons freshly squeezed lemon juice (can also use white vinegar)
- salt, to taste (about 1/4 to 1/2 teaspoon)
- zest from one lemon (optional)
- Combine milk & cream in a medium sized pot (and if you would like a hint of rosemary taste in your ricotta, add a couple sprigs here as well.) Heat on medium it to just under boiling, 200 degrees F, while stirring occasionally to make sure the milk doesn’t scald. When it’s ready, it should look foamy and steamy.
- Remove the mixture from the heat, discard the rosemary (if using) and stir in 3 tablespoons of fresh lemon juice. The milk *should* begin to curdle immediately, but it’s ok if it doesn’t.
- Cover and allow it to sit for 10 minutes to allow time for the curds to separate from the whey. At the end of 10 minutes, the curds should be completely separate and the liquid should look yellow and watery. If the milk hasn’t separated, try adding another tablespoon of acid. If that still doesn’t work, check your milk and make sure it is non-UHT milk; otherwise it will not separate.
- Set a fine mesh strainer over a mixing bowl and line with cheese cloth or nut bag. Carefully spoon the curds into the strainer, allowing the whey to collect in the bowl below.
- Gather the cheesecloth in your hand and gently squeeze to remove the excess whey. Transfer to a bowl, and sprinkle with a little salt and some lemon zest (if using.) Enjoy on bread or crackers or use as an ingredient in other dishes.