
I continue to marvel at how busy I constantly manage to be, despite not having to go to work five days a week. The last two months have been an absolute whirlwind, and I’m just now starting to catch my breath. Of course, the blog is always the first to suffer, as evidenced by the fact I’ve gone almost two whole months without a post.
Between my trip to France (still need to blog about), our 3-week Northwest road trip (future blog series), and picking up and moving my whole life to Brooklyn… I haven’t left myself a whole lot of time for E is for Eat. In the midst of the traveling and chaos, I’ve also managed to gain a few (ok, several) pounds to the point that some of my clothes stopped fitting.
I decided it was time for a reset. I’m sorrrta doing a Paleo-ish eating plan. (I say sorta, as I just downed a salad with quinoa on it, which doesn’t technically fit.) But, for the most part, I’m avoiding grains, dairy and legumes and cutting out alcohol for at least a couple weeks. It’s only been a week and a half and already I’m feeling less bloated, with much more energy.
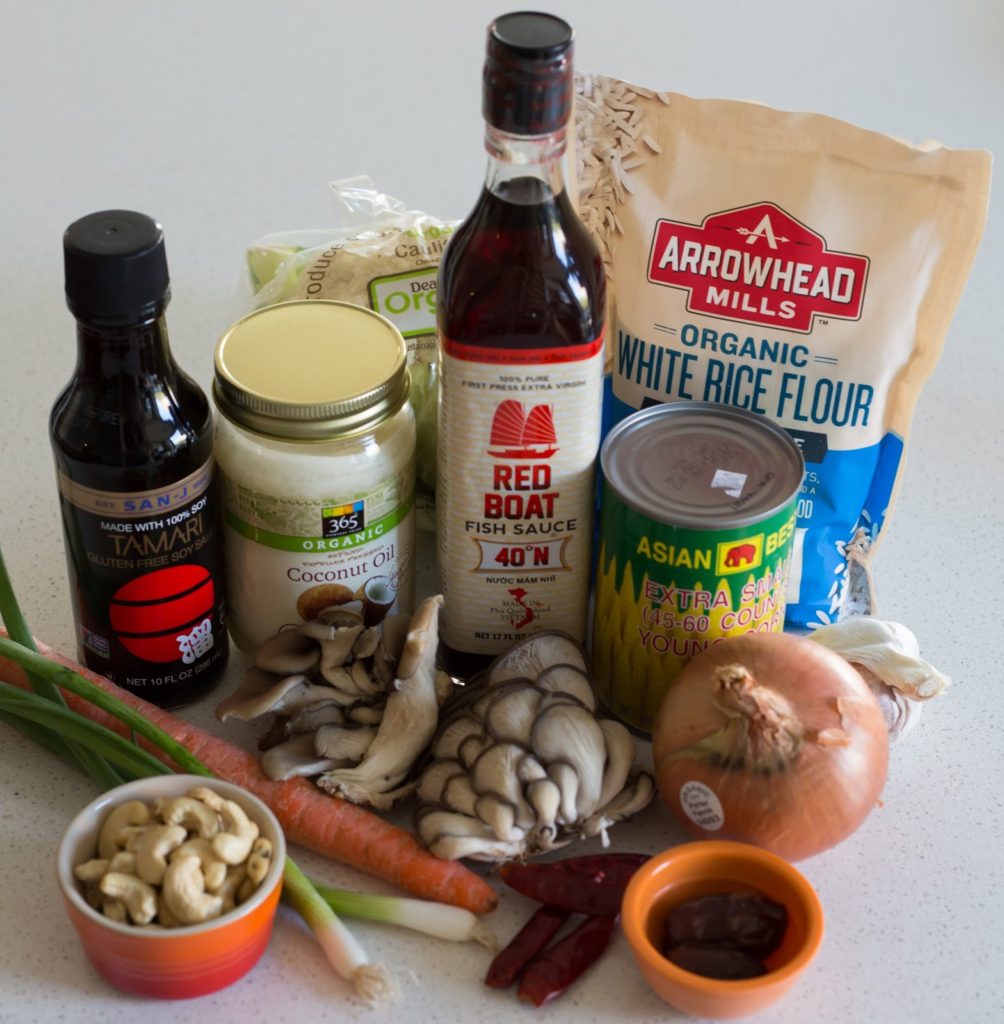
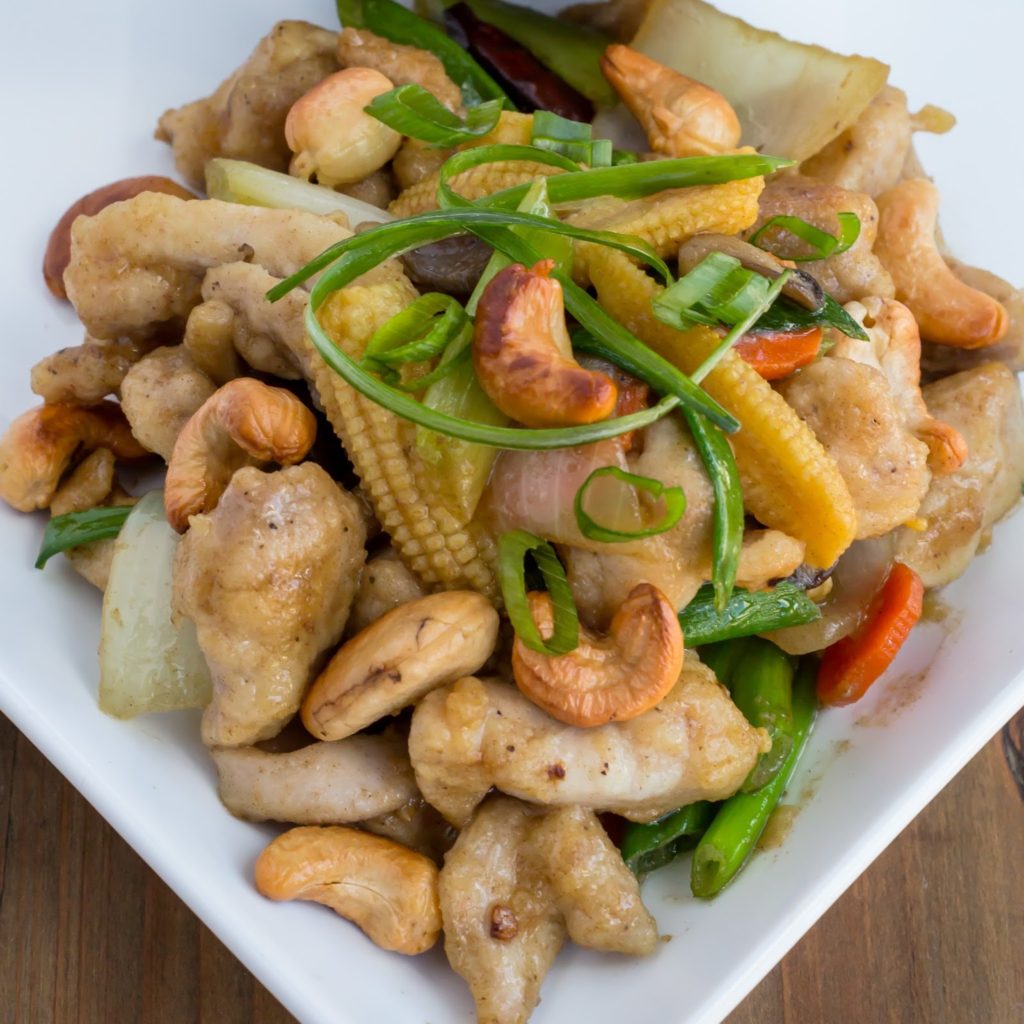
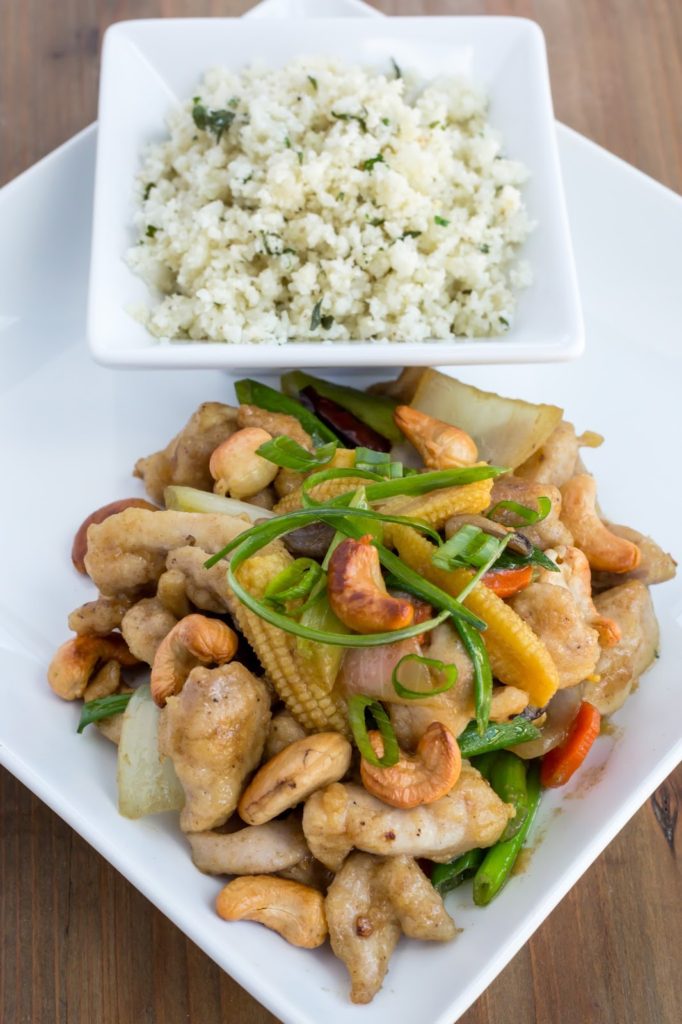
Last week, we had our friends Kristen and Russ over for dinner and to see the new place. I decided to let them be my guinea pigs for a recipe idea I had. I’ve been wanting to make something from the Thai cooking class I took while in Chiang Mai last year (I can’t believe it’s been almost a year since that trip!) Since I was on the letter “C,” I decided to recreate the Thai Cashew Chicken we learned to make in class. I subbed the rice with cauliflower “rice,” I omitted oyster sauce and added some dates to make up for the lost sweetness, and I mostly used coconut oil for cooking. I also subbed rice flour for wheat flour, but if you wanted to avoid grains altogether (like if you’re doing Whole30 or a strict Paleo diet), I think you could just leave it out completely. (Or, one of my friends on FB said you could try almond flour.)
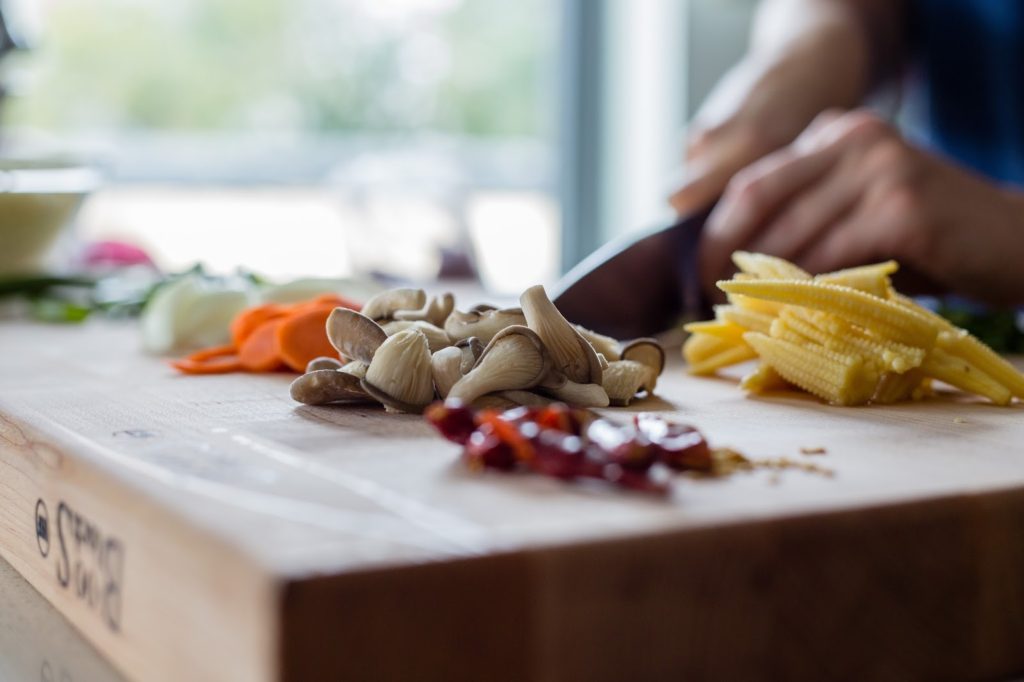
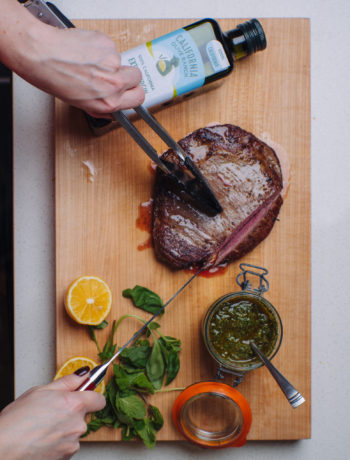
The great thing about stir fry, is that it comes together very quickly once you’ve done all of the prep. So I recommend prepping all veggies (including the cauliflower rice) before you actually start cooking. (You can even prep in the morning and store everything covered in the fridge if you want.) This makes it great for having company because you won’t spend too much time in the kitchen once everyone is ready to eat. (Thanks, as always, to Justin for helping me with most of the photos).
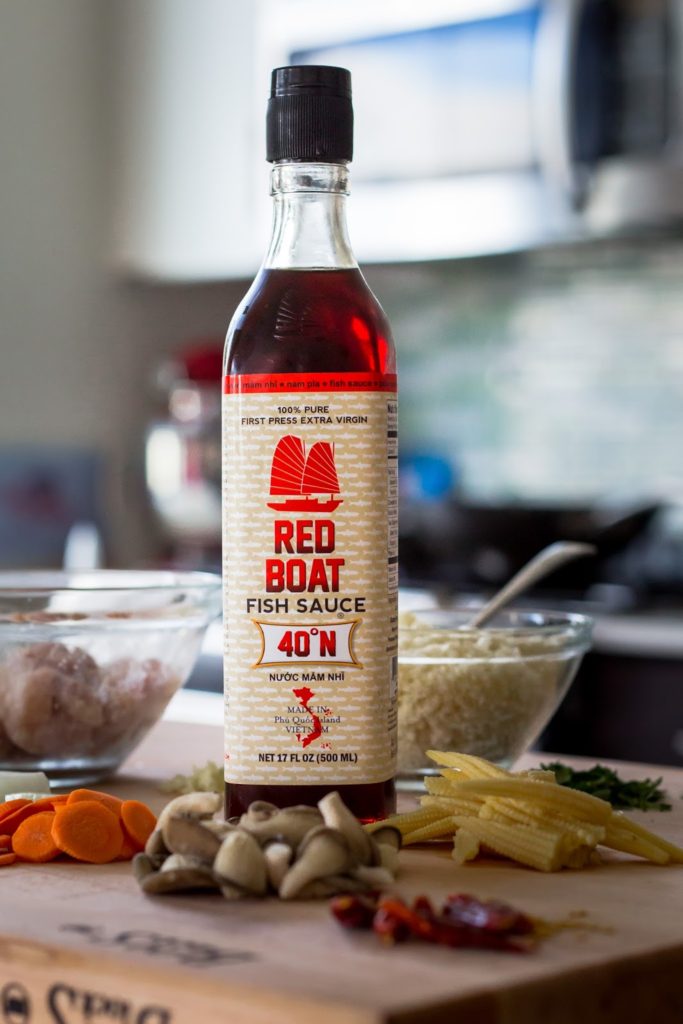
The sauce for the cashew chicken recipe from class called for fish sauce, sugar, soy sauce and oyster sauce. I swapped Tamari for the soy sauce to make it gluten free (use coconut aminos for Whole30), and as I mentioned, I omitted the oyster sauce because it contains quite a bit of sugar. (I also omitted the actual sugar.) But whatever you do, don’t skip the fish sauce! It gives it a nice complex, umami taste and it’s a staple in most Asian cooking. It also contains quite a bit of salt on account of it being made from anchovies, so go a little lighter with your overall salting of the dish. I did quite a bit of internet research to determine the best brand to buy, and most of my searches pointed me to Red Boat fish sauce. This is a 500 ml bottle that I found in Chinatown for 8 bucks. However, I also saw some at Whole Foods if you don’t have access to specialty Asian stores. It was half the size and cost $9, so you’re definitely paying for the WF upcharge. Here’s a helpful guide for purchasing and storing fish sauce.
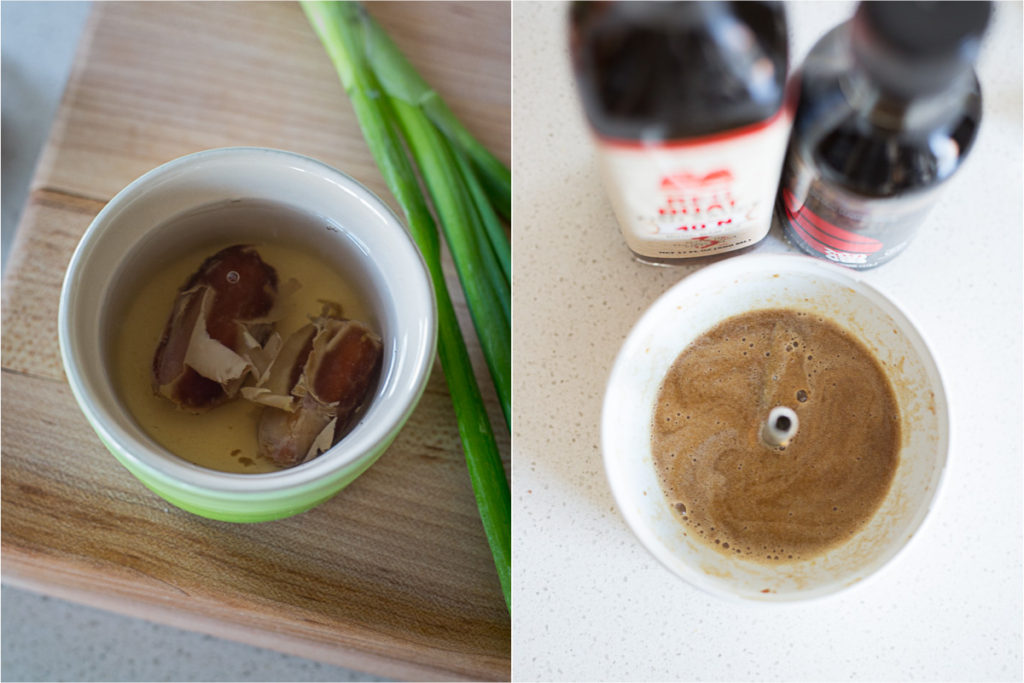
Since I was omitting the sugar, I added some dates to achieve a touch of sweetness. Soak the pitted dates in hot water for about 15-20 minutes. They will start to look all weird and unappetizing like that photo on the left. (Don’t worry, you’re just going to blend it up anyways and this helps soften them.) Also, don’t throw the soaking water out, as I used some of it to loosen up the sauce. Combine the dates, fish sauce, gluten free Tamari, and some of the soaking water in a small blender or food processor. (I used the bowl attachment of my immersion blender.) Blend until completely smooth, adding more soaking water from the dates if necessary. Set aside until ready to cook the stir-fry.

You could totally use chicken breasts to make this dish a little lower in fact. But I happen to have an affinity for boneless, skinless chicken thighs. They are easier to work with and much harder to overcook and dry out. Either way, start with a pound of chicken and trim off any extra fat. Cut into bite sized strips and place in a bowl. Season with salt and pepper and sprinkle with rice flour (if using). Mix well and refrigerate until ready to cook the stir-fry.
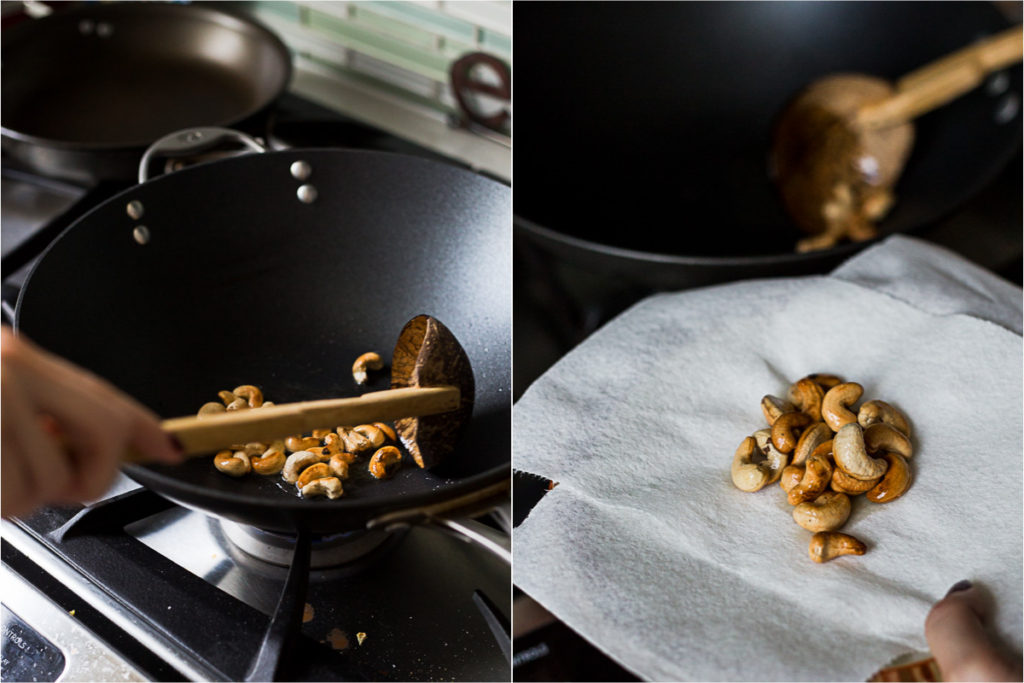
Now for the other star ingredient of this dish: the cashews. Heat 1-2 tablespoons oil in a wok over medium heat, swirling to coat all sides of the wok. Add cashews and cook until lightly browned. With a slotted spoon, remove to a paper towel lined plate. (Take care, the cashews will cook fast!) You can also do this step ahead of time. If day of, just leave on the paper towel lined plate until ready to use, otherwise store in an air tight container for up to 3 days.
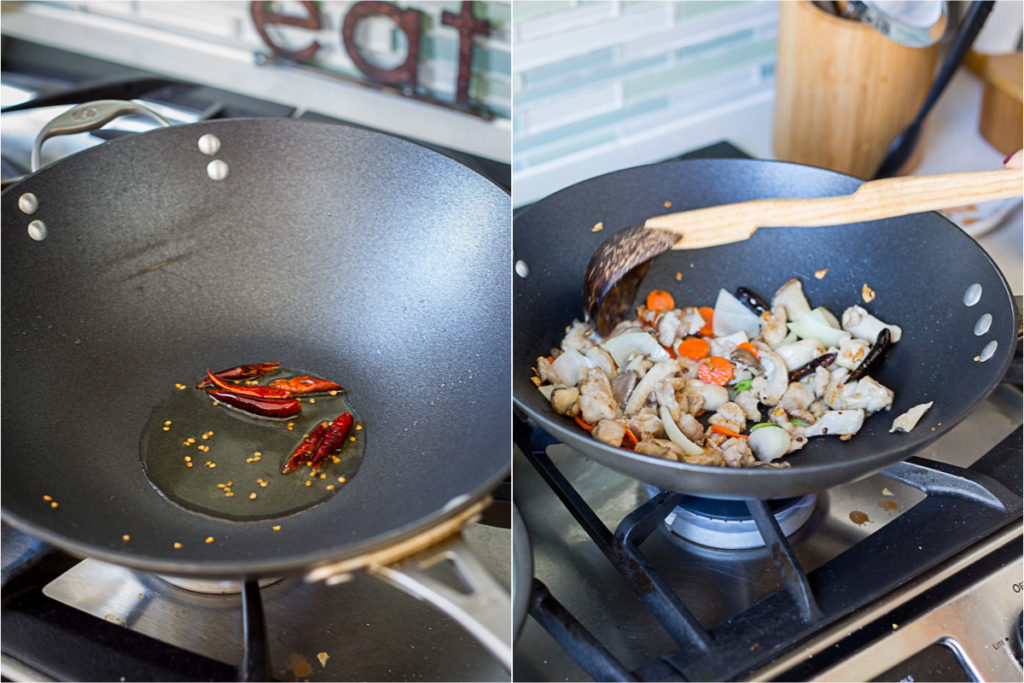
Increase the heat on the wok to medium-high. Add dried chilis (and as many of the seeds as you want, depending on your desired spice level) and fry until fragrant (about a minute). Add onion and cook another minute. Add garlic, stir once. Add chicken and stir-fry until chicken starts to brown. Add carrot, baby corn and mushrooms and cook a couple of minutes longer, or until everything is cooked to your liking.
(*Note: the original recipe called for more of a “deep frying” of the chicken in the wok, but to avoid weighing the dish down with extra oil, I did it more as a stir-fry.)
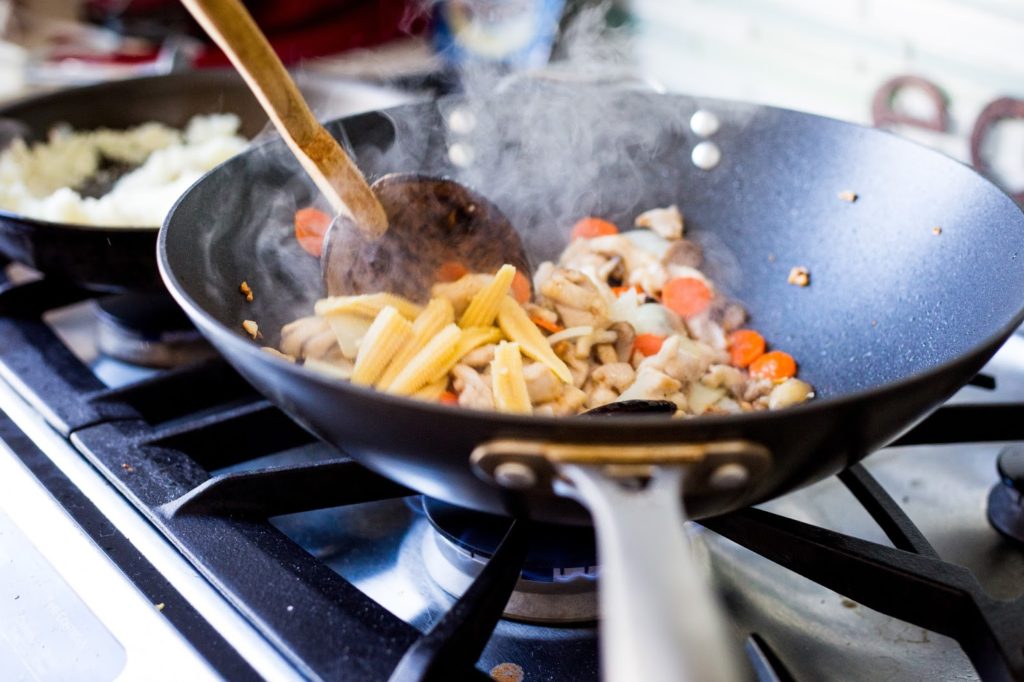
Side note: I was also really excited to use this ridiculous spoon I hauled all the way back from Thailand. The extra long handle is made from bamboo and the “spoon” is a coconut shell. Justin questioned its necessity during our pre-move purge, so I definitely had to justify keeping it by using it in this recipe. Anyways, stir in the sauce, coating the chicken and vegetables, and cook another 30 seconds. Turn off the heat, and stir in the green onions and cashews. Serve over cauliflower rice!

Speaking of which, the cauliflower rice is super simple and a nice sub for the real thing. As I mentioned earlier, it’s a good idea to have the cauliflower prepped ahead of time. I had saved some aside when I made dinner for Kristen and Russ, so I don’t have prep photos for you but basically you cut the head of cauliflower into florets. Working in batches if necessary, pulse in a food processor until cauliflower has the consistency of cous cous like this photo above.
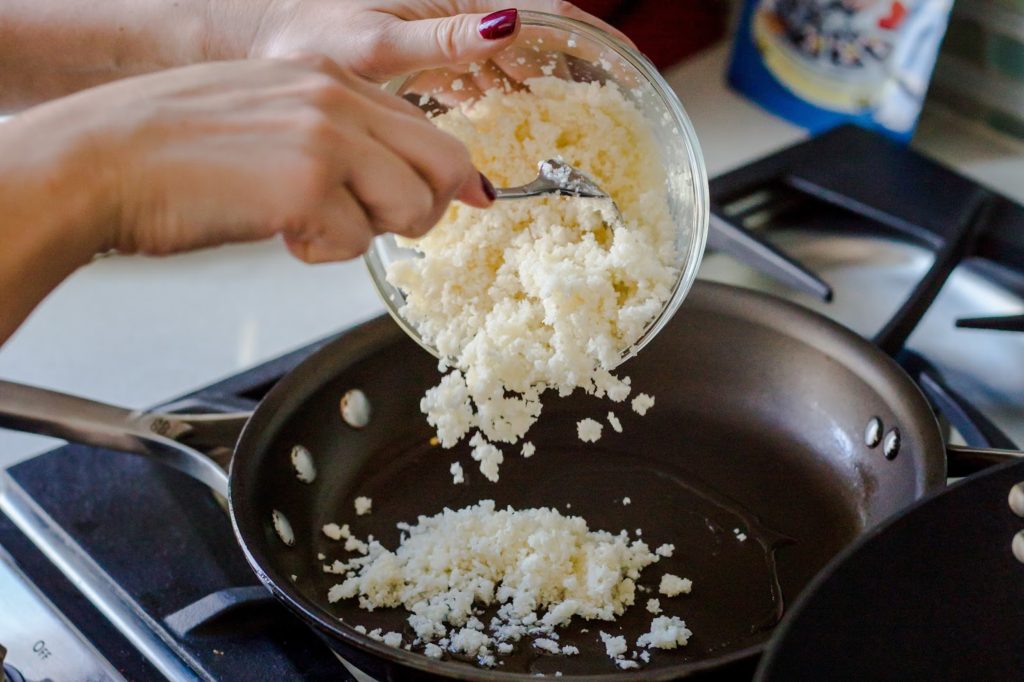
You can start the cauliflower rice as you are starting the chicken cooking and everything should be done around the same time. Heat 1 tablespoon coconut oil over medium heat in a large frying pan. Add garlic and cook for about 30 seconds before adding cauliflower rice. Cook for 3-5 minutes, or until cooked through to your liking. Turn off heat and stir in cilantro. Serve under the Cashew Chicken.
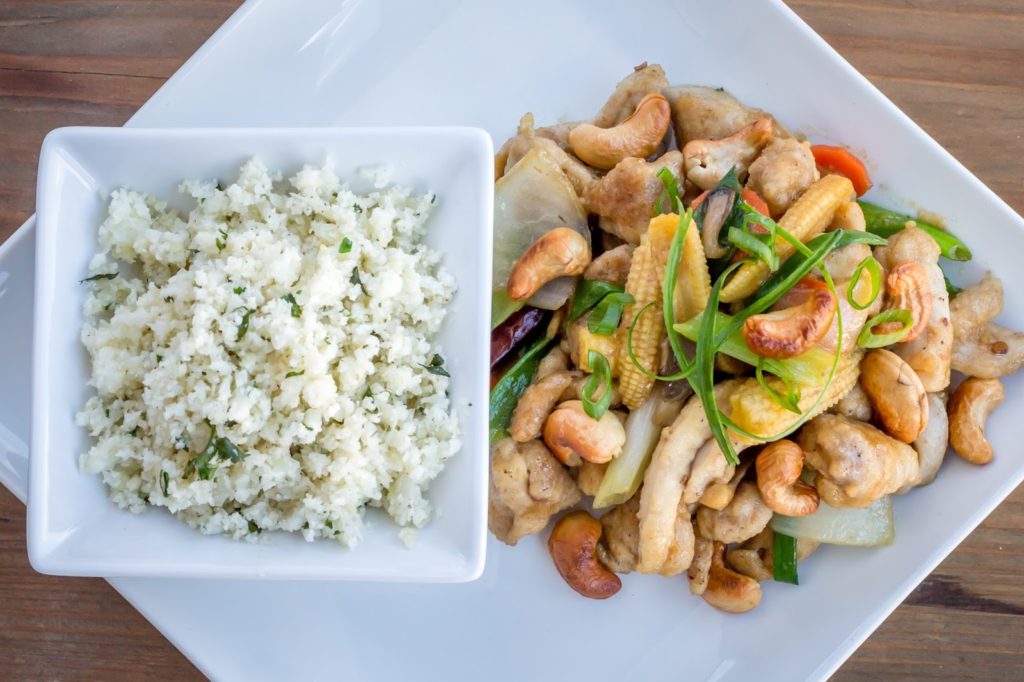
I really love how this turned out. Light, but flavorful and filling, and you don’t even miss the real rice or the added sugars.
This recipe makes about four servings. I wouldn’t try making much more than this at a time or your wok will get too full. If doubling the recipe, I would make each batch separately. Enjoy!

document.write(”);
For the sauce:
- 2 teaspoons good quality fish sauce
- 2 tablespoons GF Tamari (or Coconut Aminos for Whole30)
- 2-4 pitted dates (depending on desired sweetness), soaked in hot water for 15 minutes (reserve soaking water)
- 2-3 tablespoons of the soaking water from the dates
For the stir fry:
- 1 pound boneless skinless chicken thighs, fat trimmed and sliced into bite sized strips
- 2 tablespoons rice flour (use almond flour or coconut flour for Whole30)
- 1/2 cup cashews
- Cooking oil, for frying (Avocado oil is a good option, coconut oil can work as long as you keep an eye on the temperature)
- 6-8 finger length dried Thai chilis, cut in half lengthwise (remove some of the seeds, depending on your desired level of spice)
- 1/2 yellow onion, quartered and separated
- 3-4 garlic cloves, minced
- 1 carrot, peeled an sliced into thin discs
- 16 pieces of baby corn, drained and cut in half lengthwise
- 4 ounces mushrooms (I used oyster)
- 2-3 green onions, cut on a diagonal into 1″ pieces
- Sauce (see above)
For the cauliflower rice:
- 1 head of cauliflower
- 1 tablespoon coconut oil
- 1 clove of garlic, minced
- 1/4 cup cilantro, minced
For the sauce:
- Combine all ingredients in a small blender or food processor. Blend until completely smooth, adding more soaking water from the dates if necessary. Set aside until ready to cook the stir-fry.
For the stir-fry:
- Place strips of chicken in a bowl and season with salt and pepper. Sprinkle with rice flour (if using). Mix well and refrigerate until ready to cook the stir-fry.
- Heat 1-2 tablespoons oil in a wok over medium heat, swirling to coat all sides of the wok.
- Add cashews and cook until lightly browned. With a slotted spoon, remove to a paper towel lined plate. (Take care, the cashews will cook fast.)
- Increase the heat on the wok to medium-high. Add dried chilis and fry until fragrant (about a minute). Add onion and cook another minute. Add garlic, stir once. Add chicken and stir-fry until chicken starts to brown.
- Add carrot, baby corn and mushrooms and cook a couple of minutes longer, or until everything is cooked to your liking. Stir in the sauce, coating the chicken and vegetables, and cook another 30 seconds.
- Turn off the heat, and stir in the green onions and cashews. Serve over cauliflower rice!
For the cauliflower rice:
- Cut the head of cauliflower into florets. Working in batches if necessary, pulse in a food processor until cauliflower has the consistency of cous cous.
- Heat 1 tablespoon coconut oil over medium heat in a large frying pan. Add garlic and cook for about 30 seconds before adding cauliflower rice. Cook for 3-5 minutes, or until cooked through to your liking. Turn off heat and stir in cilantro. Serve under the Cashew Chicken.
Unknown
November 2, 2017 at 7:18 pmHi Jaymee,
Is there a way to make it low sodium but high taste? I, unfortunately am on a low sodium diet but this dish looks amazing.
Thanks,
Bruno
jaymeesire
November 14, 2017 at 6:43 pmHmmm… I would seek out low sodium soy sauce or Tamari. And unfortunately, you will likely have to omit the fish sauce, which is a bummer because it's so good. But fish has a ton of salt in it, and because it's made from anchovies… well, you know where I'm going.
Megan McClelland
January 17, 2018 at 4:22 amLoved this! Cooked the cauliflower rice with jalapeño olive oil to give it a bit more spice, another winner!
jaymeesire
January 25, 2018 at 8:13 pmOooh!! Nice call!